

Vintage tattoo-style 3D card - 3D paper art tutorial
A relaxing and beginner-friendly creative 3D paper art tutorial
In this tutorial, I'll show you how to create a layered 3D paper art piece inspired by vintage tattoo hearts, roses and lovebirds. This 3D paper art tutorial is perfect for beginners and anyone who enjoys slow, hands-on crafting.
You can follow the full process in the video below, including cutting, layering, and assembling the artwork using simple tools you likely already have at home.
This tutorial is free to follow on YouTube, and it includes free printable templates to help you get started right away.
Follow this 3D paper art tutorial
step-by-step on YouTube
You can pause or slow down the video at any time while crafting,
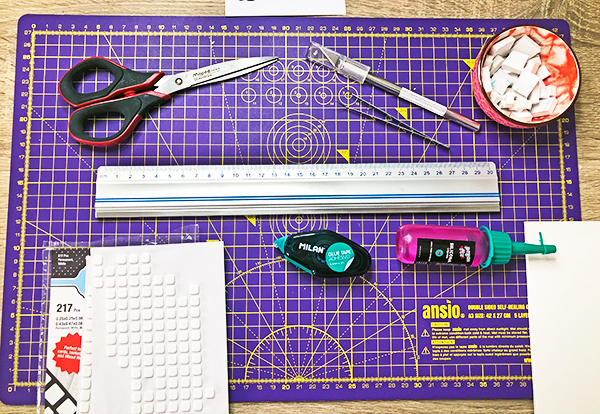
Tools and supplies for this project
- Printed templates (200 gram paper recommended)
- Scissors
- Craft knife (for small details)
- Ruler
- Cutting mat
- Glue or double-sided tape
- 3D foam squares or foam type
- Foam board (optional, for wall display)
Most of these are basic tools many people already have at home.
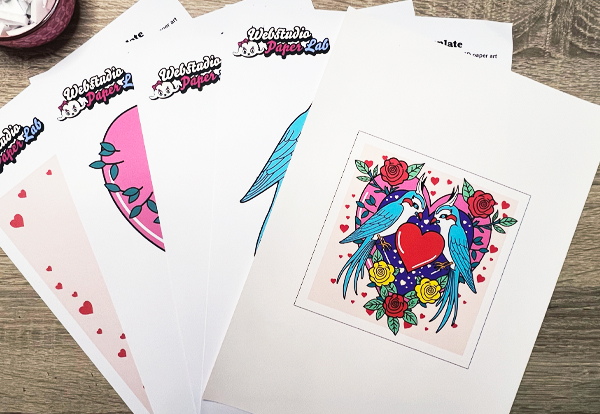
Download the printable templates
This tutorial includes free printable templates to help you recreate the design. Download the printable templates. Templates are provided as printable jpgs or as a 4 pages PDF file. Click here to download the PDF file.
")


From flat illustration to 3D paper art
I start by showing the original flat illustration, then quickly preview the finished 3D result so you can see where the project before we begin.
Step-by-step 3D paper craft overview
How to assemble the 3D paper art
Step 1: Prepare your print
Print the free template on sturdy paper (around 200–250 gsm works best). Before cutting, take a moment to look at all the elements and how they will layer together. This helps you plan the build and avoid rushing later.
Step 2: Cut out the background
Cut out the background shape first. If you’d like extra strength for a wall piece or card front, glue the background onto foam board or thick cardstock and trim the edges neatly.
Step 3: Cut the main elements
Carefully cut out the main shapes like hearts, roses, and birds. Use scissors for larger areas and a craft knife for small details or tight spaces. Take your time because slow cuts give cleaner edges.
Step 4: Add depth with foam layers
Use 3D foam squares or strips to build layers and depth. Place foam on the back of each element, starting with the larger pieces and working toward the smaller details. Mistakes are part of the process just adjust and keep going.
Step 5: Assemble and adjust
Bring all the pieces together and gently place them onto the background. Adjust spacing and layers until everything feels balanced. There’s no rush and enjoy the process and make it your own.
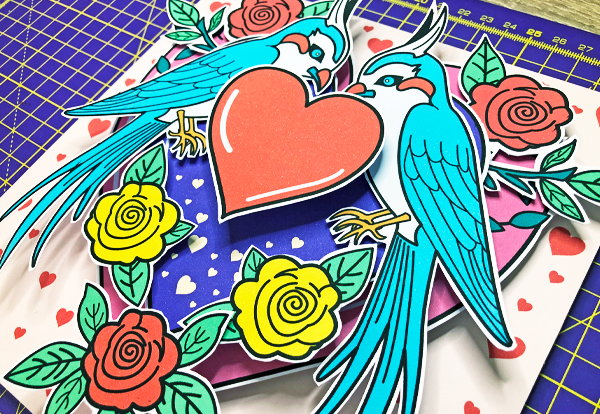
Final result
The finished 3D paper art piece
The final result is a layered, tactile paper artwork that works beautifully as a Valentine's Day card or framed wall art.

More free tutorials
Explore more creative projects
Subscribe to my YouTube channel for more paper art tutorials and explore other DIY paper craft projects on my website.
Thanks for spending time creating with me. If you'd like to support my work, sharing the tutorial or subscribing on YouTube means a lot.
Happy crafting,
Ingrid
Webstudio Paper Lab / Webstudio 2Amigos